


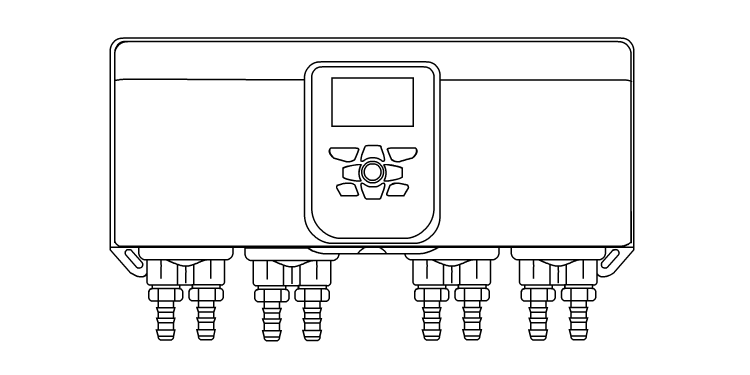
How do I connect my Nexus system to the internet via Ethernet?
A short article on how to connect your Nexus system to the internet using an ethernet connection.


Step 1

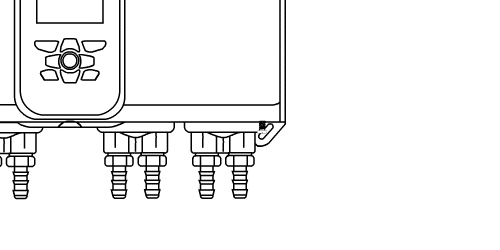
PLEASE TURN OFF POWER TO THE UNIT BEFORE OPENING THE CASE
To access the ethernet connection on the main board you will need to remove the two cover screws at the bottom of the case. You can use a standard M4 Pozi or Phillips screwdriver.
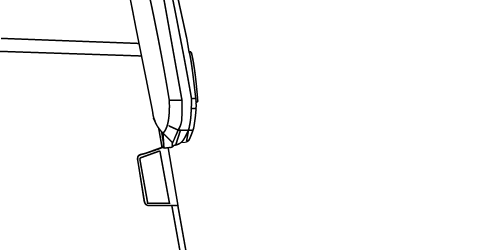
Step 2
Remove the front cover by sliding it up towards the ceiling.
PLEASE NOTE: The screen is attached to the cover with wires, so please take care not to damage these as you lift it up
Use the hooks at the top of the enclosure to hold the cover in place.
Step 3
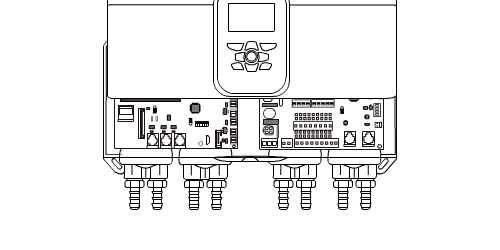
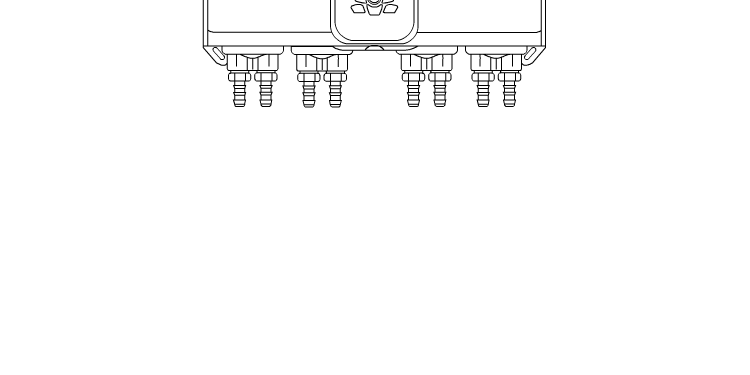
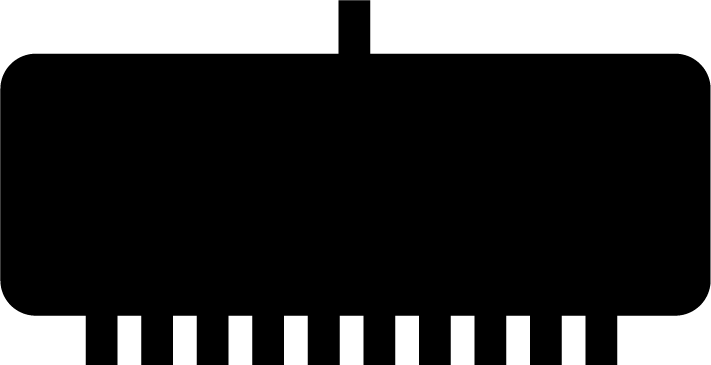
Now that the PCB’s are exposed you can slot the ethernet connector into the following slot on the main board.
Step 4
After connecting the ethernet cable you can remove the insert on the case to run the cable out to the router.
Step 5
Once the ethernet cable has been connected to the unit you can replace the cover and reattach the cover.
Step 6
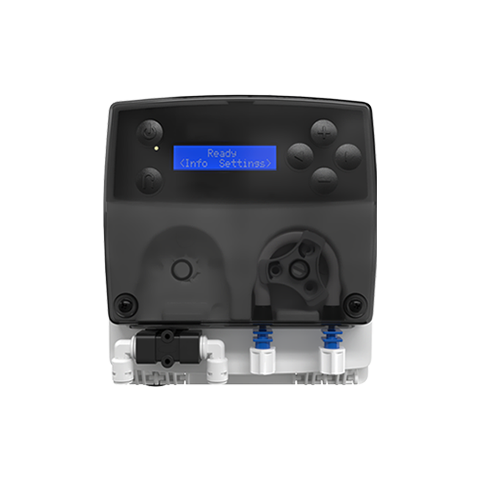
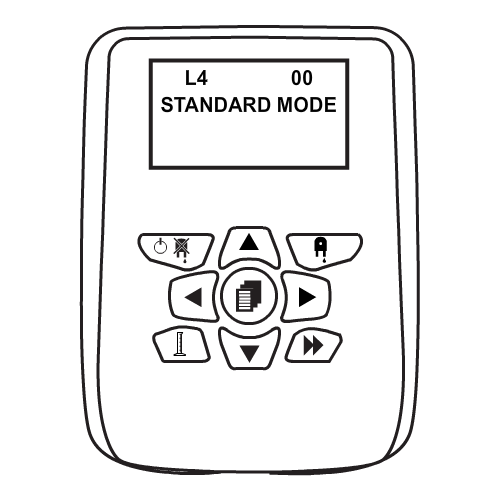
To confirm that the Ethernet connection has worked, look at the main screen and confirm the following Ethernet Symbol is showing.
If the unit has a successful internet connection and has managed to communicate with the Portal you will also see the second Infinity Symbol.

Once you have both of the above symbols you are ready to register your unit on the Portal. Please refer to the following section – Registering your Nexus unit on the Portal.
Keywords
– Nexus Portal
– How do I connect my Nexus system to the internet via Ethernet?
– Connect to the internet
– Connect via Ethernet
– Internet
– Ethernet connection
– Attach ethernet internet?